It seems that whoever is managing the Zimbra forums has deleted a lot of old threads and a wealth of information has become lost because of it.
Anyways, this article shows how easily (or not) you can upgrade from CentOS 6 to CentOS 7 using rsync for your Zimbra mail system. Zimbra is quite a nice robust system that was at the forefront of email systems until it was taken over by the latest buyer who seems to have no idea how to manage development.
Assumptions:-
- you have a Zimbra system running on CentOS 6
- you have a server with fresh install of CentOS 7
- you have the knowledge on how to install Zimbra on CentOS 7; this article will not go into this as this is well covered elsewhere
- make sure that both servers have exactly the same amount of memory as heap size configurations can cause problems if not
I outline below the simple steps on what to do:-
(1) Install Zimbra on Centos 7 – the lowest version you can install is 8.0.8 – make sure that you install the exact same version of Zimbra on both the CentOS 6 and CentOS 7 boxes. So if on CentOS 6 you are running Zimbra 8.0.8 then you must install Zimbra 8.0.8 on your new Centos 7 system. If you don’t do this you cannot do this migration
(2) Switch off Zimbra on the new server (CentOS 7 box)
su zimbra
zmcontrol stop
(3) Rename the original directory to a backup directory- e.g.
mv /opt/zimbra/ /opt/zimbra.orig/
(4) Create a new directory called /opt/zimbra/ and then rsync everything over from old server
rsync -azlgop –progress root@<<old server IP address>>:/opt/zimbra/ /opt/zimbra/
Make sure that you use the IP address and not the hostname – as the hostname may resolve to the new server and also if you have a lot of files – you may want to use “screen” so that if terminal’s connection gets broken you can always resume the session. Make sure that you switch off Zimbra on the old server and the new server before you run the rsync as some orphaned pid files may result if you don’t.
(5) Copy back all of the following directories from /opt/zimbra.orig/ to /opt/zimbra/ – the below versions will invariably be wrong so you will need to change them….
/httpd-2.4.10/
/nginx-1.2.0-zimbra/
/zimbramon/
/jetty-distribution-7.6.12.v20130726/
/memcached-1.4.17/
/mysql-5.5.39/
/opendkim-2.9.2/
/postfix-2.10.3.2z/
/net-snmp-5.7.2.1/
/jdk-1.7.0_67/
/zimlets/
/amavisd-new-2.8.0/
/aspell-0.60.6.1/
/bdb-5.2.36/
/pflogsumm-1.1.3/
/tcmalloc-2.1/
/zeromq-3.2.3/
/openssl-1.0.1i/
/rsync-3.0.9/
/lib/
/libexec/
/clamav-0.98.4/
/cbpolicyd-2.1.0-beta/
/curl-7.37.0/
/cyrus-sasl-2.1.26.2z/
So for instance – you will need to run something like:-
rsync -azlgop –progress /opt/zimbra.orig/httpd-2.4.10/ /opt/zimbra/httpd-2.4.10/
To be honest, I’m really not completely sure that all the directories need to be synced; but I guess better safe than sorry.
(6) try to start Zimbra by typing:-
su zimbra
zmcontrol start
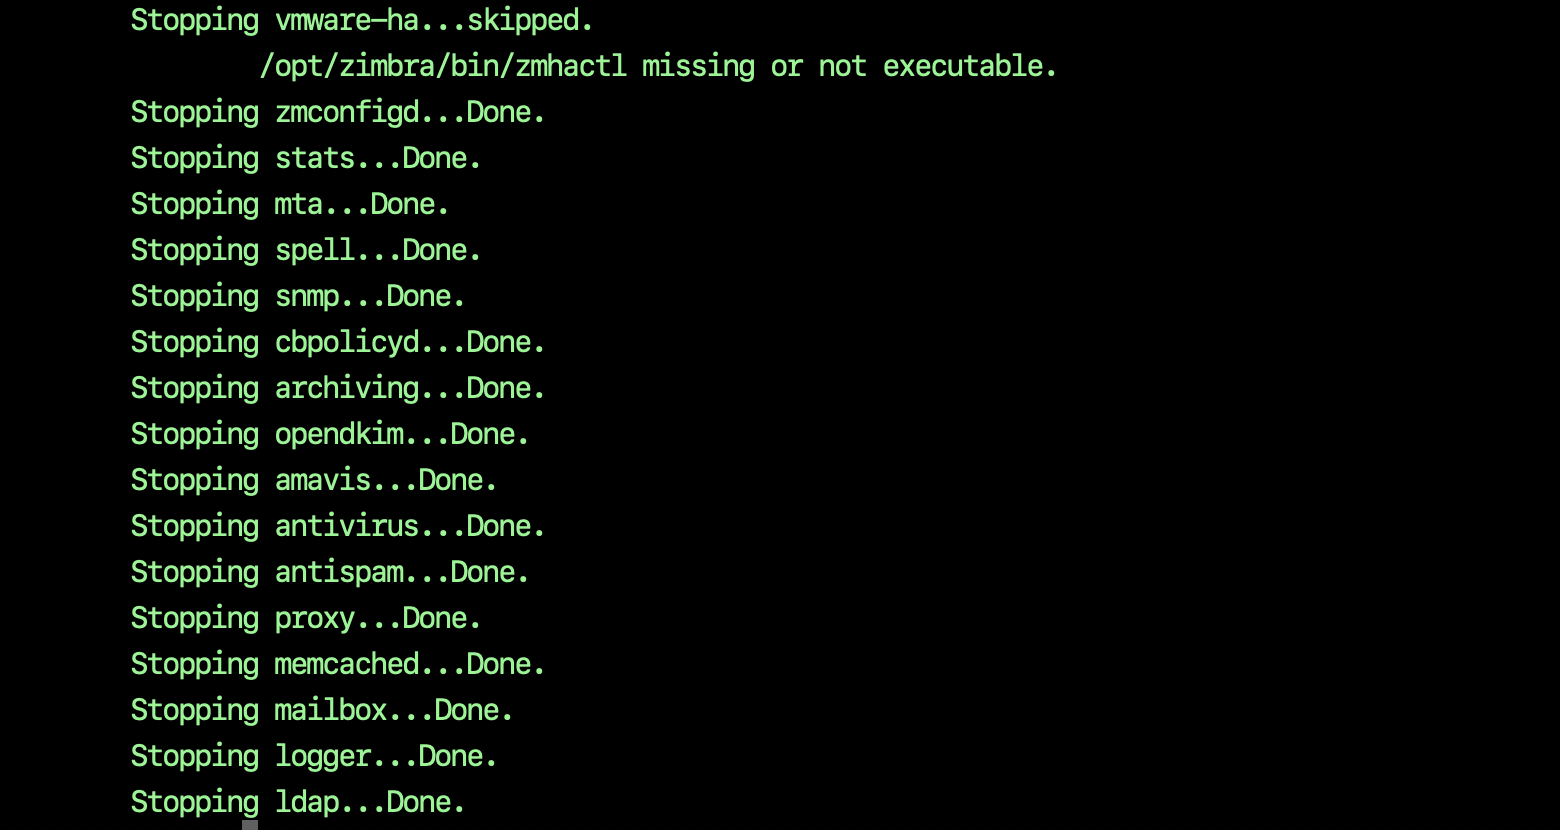
You will likely get an error message when starting mailboxd, e.g.
Starting ldap…Done.
Starting zmconfigd…Done.
Starting logger…Done.
Starting mailbox…Failed.
Do not panic, this is supposed to happen (most of the time) – if it doesn’t then well done; if it does it can be any number of reasons such as the uid and gid being wrong. The uid stands for User ID and for reason Zimbra stores this information in zmlocalconfig. On a lot of CentOS 6 installations the uid for Zimbra is 500 and the gid is also 500. gid stands for Group ID. When making the fresh install on CentOS 7 the uid and gid can become some other value and you will need to manually adjust these to make mailboxd work.
You can obtain the value of the store uid in zmlocalconfig by typing:-
zmlocalconfig | grep uid
which would give you something like:-
zimbra_ldap_userdn = uid=zimbra,cn=admins,cn=zimbra
zimbra_uid = 500
and then you can check what the uid on the new Centos7 box should be by typing this command as root user:-
cat /etc/passwd | grep zimbra
The result will be something like this:-
zimbra:x:997:995::/opt/zimbra:/bin/bash
The first number 997 is actually the uid and 995 (the second number) is the gid; so if the value from zmlocalconfig does not match the one in /etc/passwd then you need to update the value in zmlocalconfig by typing (remember to run as zimbra user):-
zmlocalconfig -e zimbra_uid=997
zmlocalconfig -e zimbra_gid=995
After this you can try to start mailbox again by typing:-
zmmailboxdctl start
if it starts it’s great then you can update your DNS and the server upgrade is complete. If it doesn’t start you can do further diagnosis on the reasons by looking at the log by typing:-
tail -n200 /opt/zimbra/log/zmmailboxd.out
Sometimes it is a case of the heap size being too much (if the CentOS 7 box has less memory) and you need to reduce the heap size you can run this:-
zmlocalconfig -e mailboxd_java_heap_size=2048
They say that the heap size should not be more than 30% of the total ram you have on the server – e.g. if you have 8Gb of RAM then the heap size should be around 2048.